
Navigating the various hazards on a golf course is a critical skill for any golfer aiming to lower their scores and improve their game. Understanding and effectively managing these obstacles can make the difference between a birdie and a bogey. In this comprehensive guide, we’ll delve into the different types of golf course hazards, how to handle them according to the rules, and strategies to improve your overall course management.
Understanding Golf Course Hazards
Golf course hazards are designed to challenge players and add complexity to the game. The main types of hazards include:
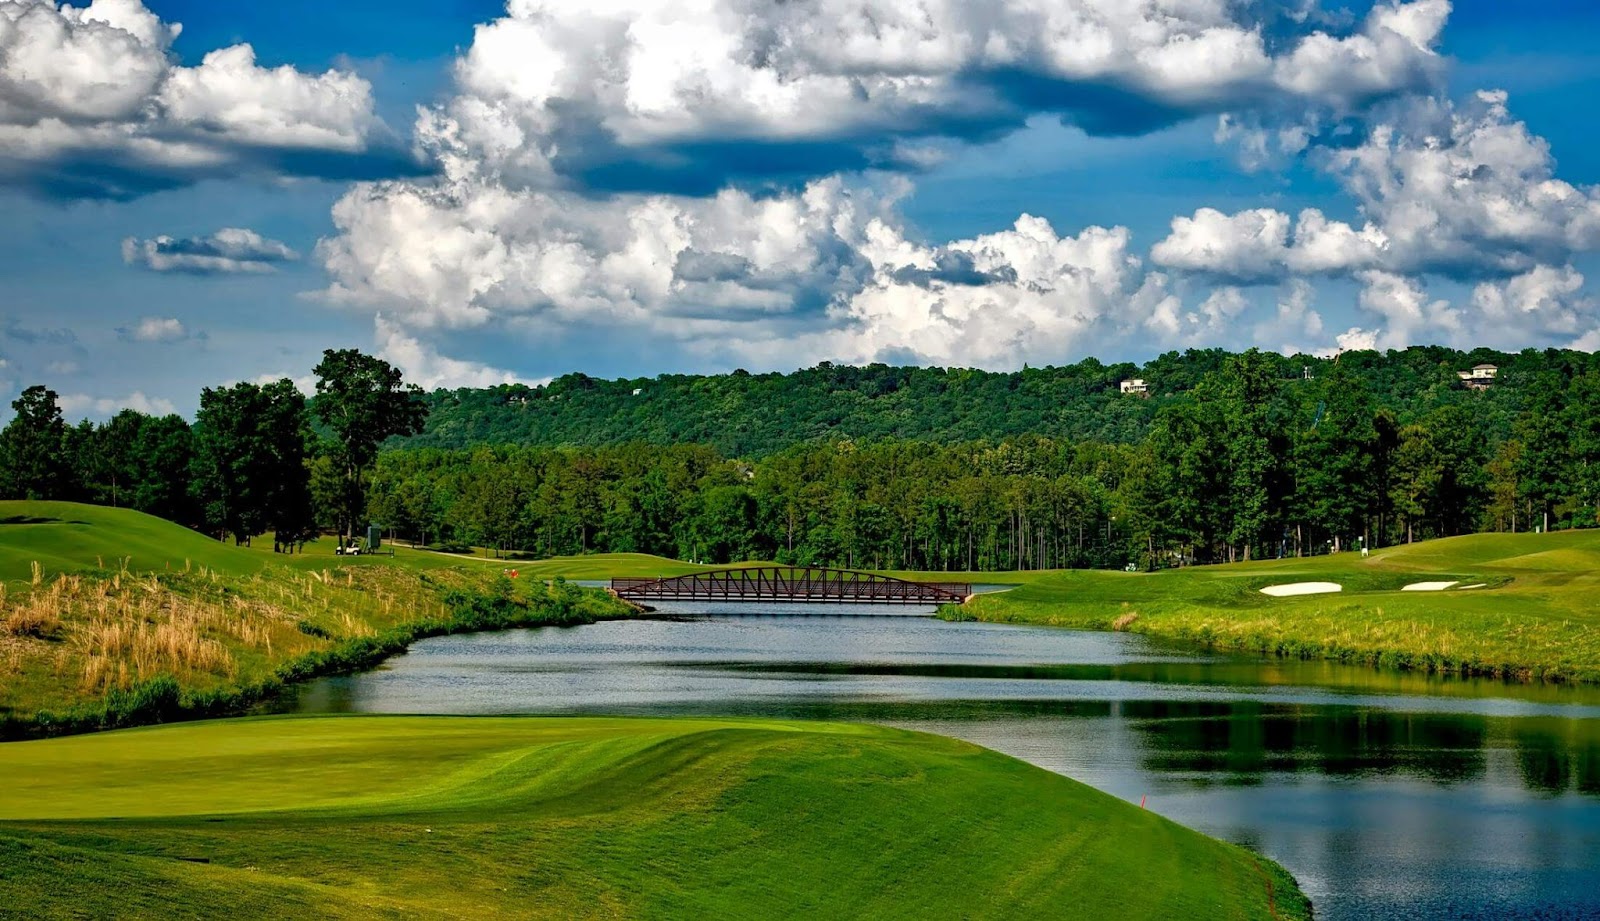
1. Penalty Areas: Formerly known as water hazards, these areas are now classified as either red or yellow penalty areas. They include ponds, lakes, rivers, deserts, jungles, and any other area the committee defines as a penalty area.
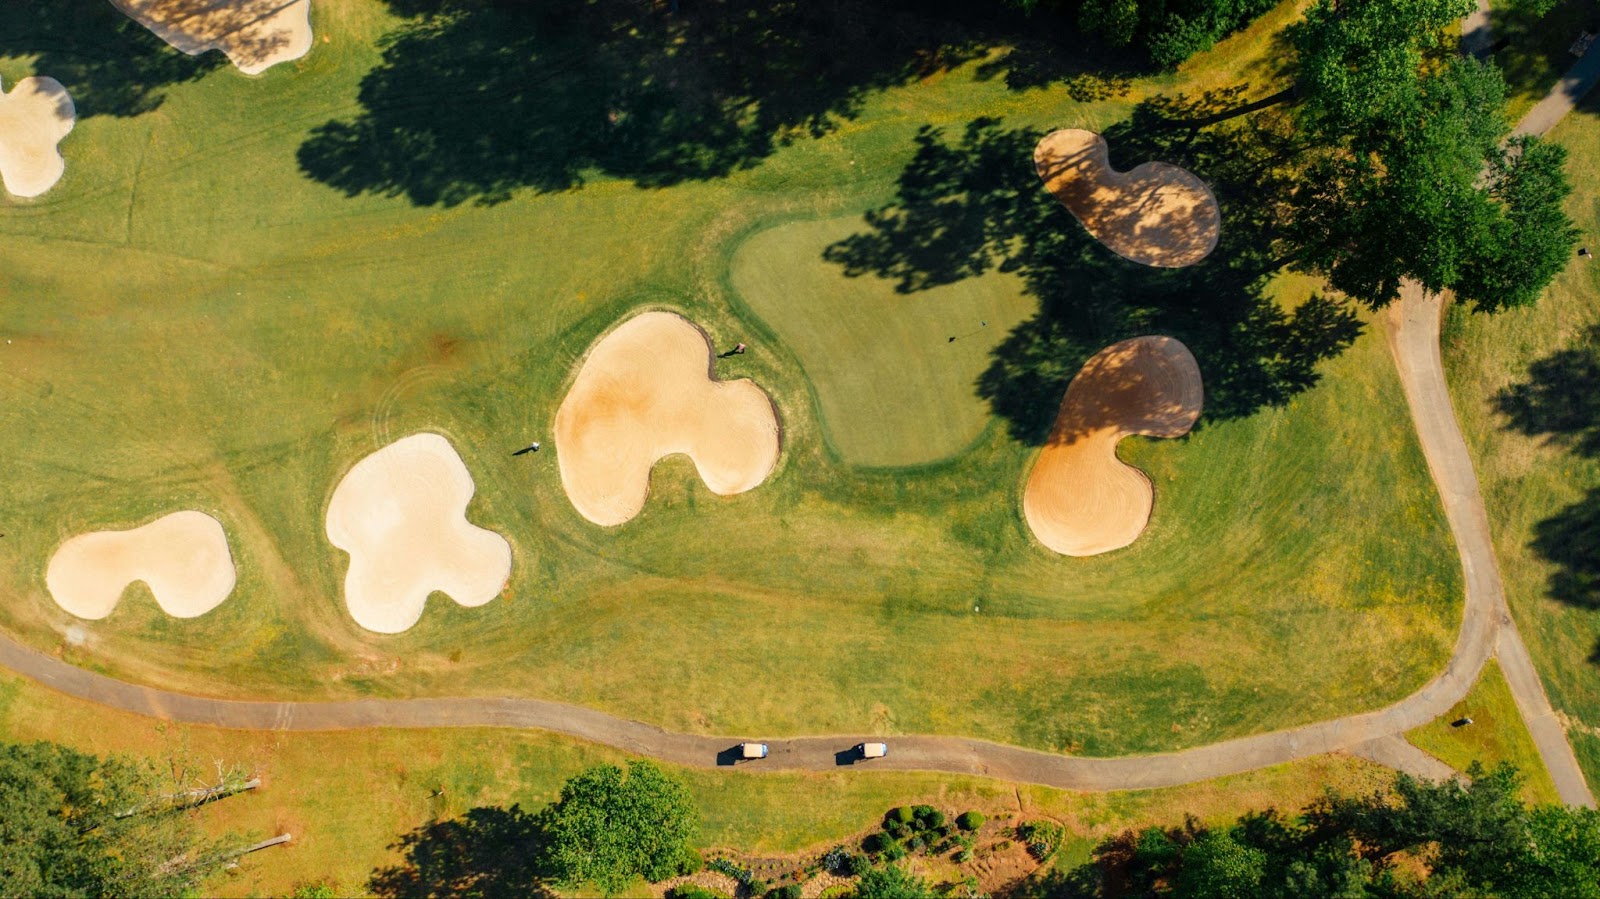
2. Bunkers: Sand traps designed to test a golfer’s skill in escaping from soft, often challenging terrain.
3. Out of Bounds (OB): Areas outside the boundaries of the course where play is not allowed.
4. Natural Hazards: These can include trees, bushes, and other natural features that can obstruct shots.
Enhance Your Training with Gears Golf Technology
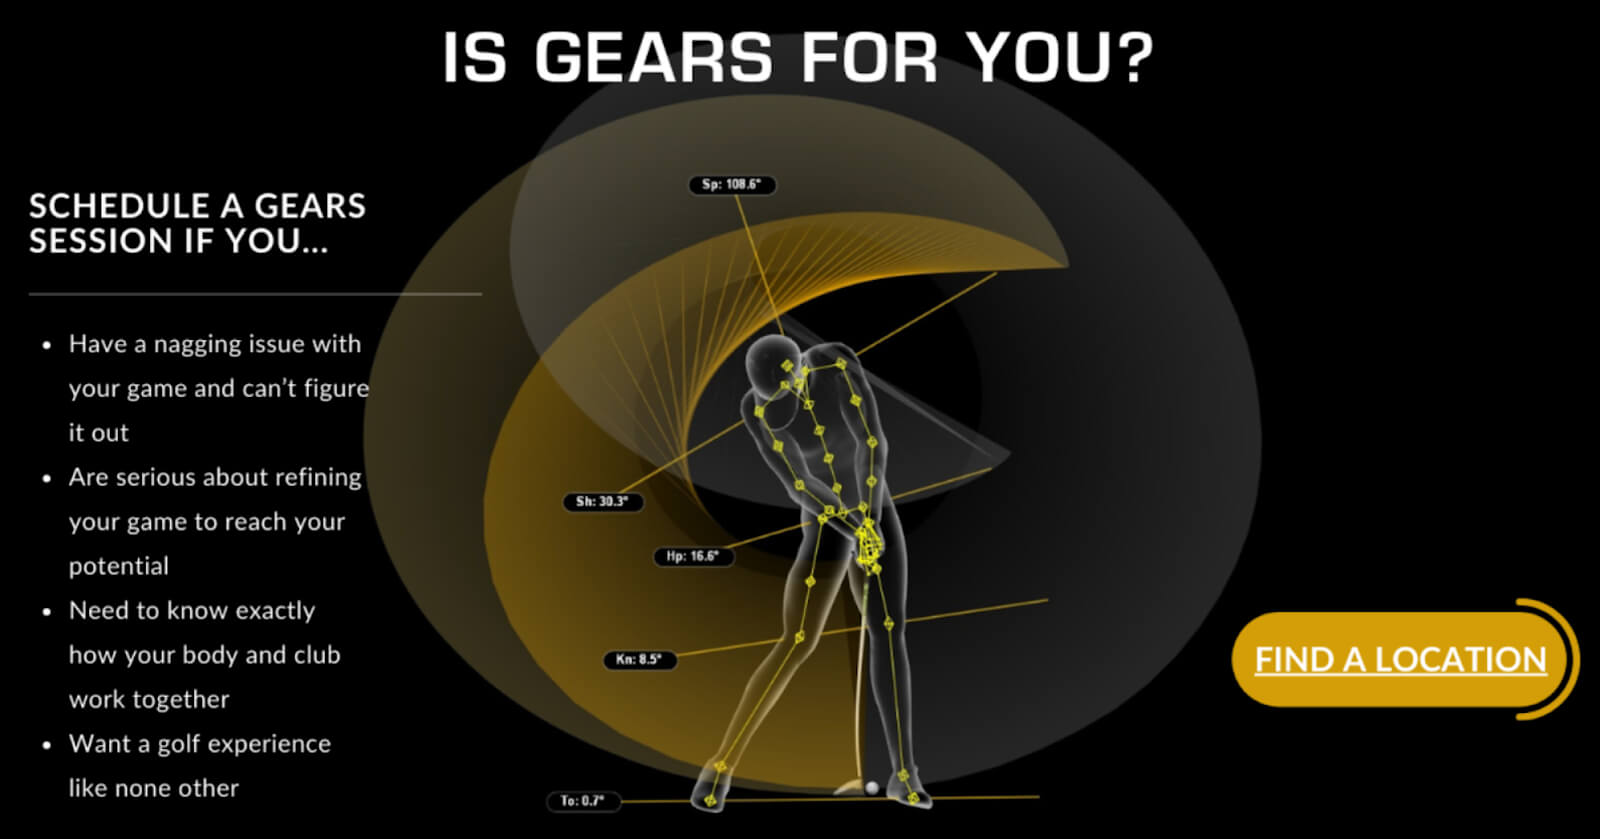
To navigate golf course hazards effectively, consider integrating advanced training tools like the Gears Golf Swing Motion Capture system. This state-of-the-art technology provides a comprehensive 3D analysis of your golf swing, capturing every detail from club path to body movement. By understanding these nuances, you can make precise adjustments to improve your technique and course management.
Using Gears Golf technology, you can simulate various hazard scenarios and analyze your responses, allowing you to develop strategies and refine your skills. This insight is invaluable for mastering the challenges posed by penalty areas, bunkers, OB situations, and natural hazards, ensuring you are well-prepared for any situation on the course.
Penalty Areas: Rules and Strategies
The Rules
According to the USGA Rules of Golf, penalty areas are marked by either red or yellow stakes or lines. Understanding the rules for each type of penalty area is crucial:
– Red Penalty Areas: These provide lateral relief options, which means you can drop within two club-lengths of where the ball last crossed the edge of the penalty area, no closer to the hole.
– Yellow Penalty Areas: These only allow for two types of relief: stroke-and-distance relief or back-on-the-line relief.
Strategies for Navigating Penalty Areas
1. Know Your Options: Familiarize yourself with the relief options available for red and yellow penalty areas. This knowledge will help you make quick and informed decisions on the course.
2. Assess Risk vs. Reward: Before attempting a risky shot over a penalty area, consider the potential consequences. Sometimes, playing it safe and taking a penalty drop can save strokes in the long run.
3. Practice Recovery Shots: Spend time practicing shots from penalty areas and rough terrain. This will build your confidence and skill in managing these situations during play.
Bunkers: Techniques and Tips
The Rules
Bunkers are unique hazards with specific rules. You cannot ground your club in the sand before making a stroke, and certain types of relief (such as taking an unplayable lie) come with penalties.
Strategies for Escaping Bunkers

1. Use the Right Technique: Open your clubface and take a wider stance. Aim to hit the sand a few inches behind the ball to splash it out onto the green.
2. Practice Different Lies: Bunkers can present various challenges, such as buried lies or firm sand. Practicing these different scenarios will help you handle whatever comes your way during a round.
3. Stay Calm and Confident: Confidence is key when playing out of bunkers. Trust your technique and commit to the shot.
Out of Bounds (OB): Avoidance and Recovery
The Rules
When your ball goes out of bounds, you must take stroke-and-distance relief, meaning you add a penalty stroke and replay the shot from the original spot.
Strategies for Managing OB Situations
1. Course Management: Pay attention to the course layout and avoid high-risk shots near OB areas. Aim for safer parts of the fairway or green.
2. Play Smart: If you’re in a situation where OB is a significant risk, consider laying up instead of going for a long shot that could result in a penalty.
3. Practice Precision: Work on your accuracy to reduce the likelihood of hitting OB. Precision off the tee and with approach shots will help keep your ball in play.
Natural Hazards: Trees, Bushes, and Rough
The Rules
Natural hazards like trees and bushes can obstruct your shot but are typically not considered penalty areas unless marked as such. You must play the ball as it lies or take an unplayable lie with a one-stroke penalty.
Strategies for Navigating Natural Hazards
1. Plan Your Shot: When faced with a natural hazard, take the time to plan your shot carefully. Look for gaps in the trees or a clear line of play.
2. Use the Correct Club: Select a club that will help you navigate the hazard effectively. Sometimes a lower lofted club can help you punch out of trouble.
3. Stay Patient: Don’t try to force a hero shot. Sometimes the best play is to chip out sideways and avoid further trouble.
Conclusion
Mastering the various hazards on a golf course requires a combination of knowledge, skill, and strategic thinking. By understanding the rules and practicing effective techniques, you can navigate penalty areas, bunkers, OB situations, and natural hazards with confidence. This comprehensive approach will not only improve your scores but also enhance your overall enjoyment of the game. Keep practicing, stay informed, and remember that every challenge on the course is an opportunity to improve your skills.